In this tutorial you'll learn how to add passkey authentication to your SvelteKit apps. You'll register a passkey and use it to login. In subsequent tutorials I'll show you how to add session management, social login and more.
Passkeys offer significant security and usability enhancements over passwords. We can use passkeys in isolation or as a secondary authentication factor. Whilst the technology behind passkeys is complex, frameworks and libraries such as Passlock make adoption simple.
This tutorial will take less than 30 mins to complete.
Feeling lazy?
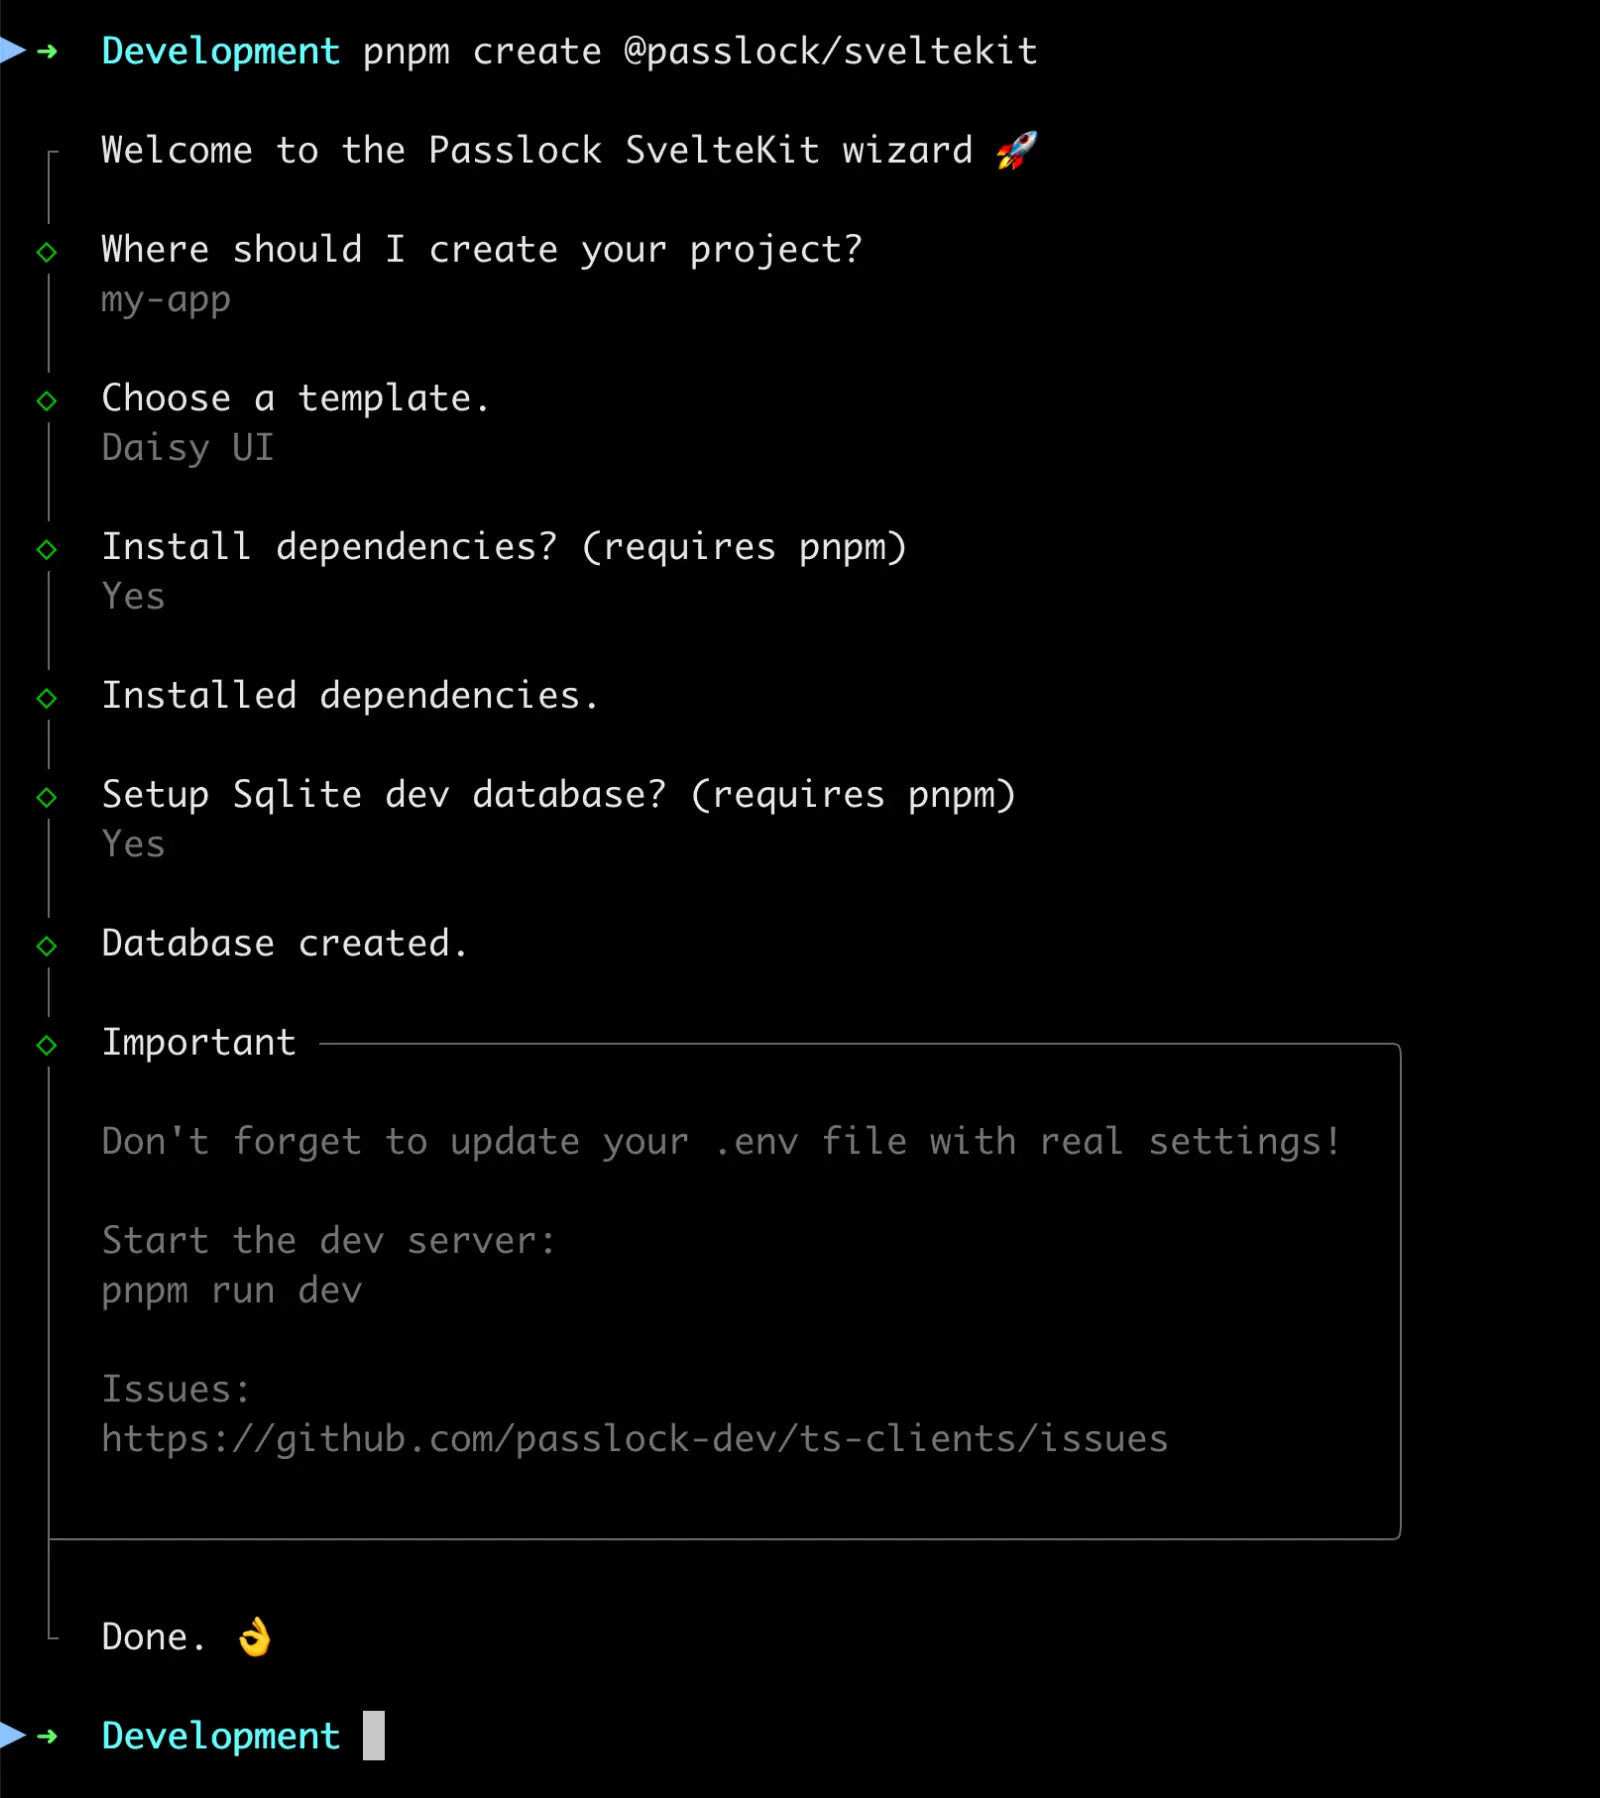
I've put together a starter app which supports passkeys, social sign in and other features. You can choose from multiple UI frameworks including Daisy UI, Preline and Shadcn. Use the CLI script and follow the prompts:
pnpm create @passlock/sveltekit
Use the wizard to generate an with passkey support
That’s it! check out the generated source code, which has plenty of comments.
This won’t win any design awards but I want to keep things real simple. Now for the real work … we’ll intercept the form submission and register a passkey on the users device:
<!-- src/routes/register/+page.svelte --><script lang="ts"> import { enhance } from '$app/forms' import { register } from '@passlock/sveltekit' // we'll fill in the tenancyId and clientId later const { onSubmit } = register({ tenancyId: 'TBC', clientId: 'TBC' })</script><form method="post" use:enhance={onSubmit}> Email: <input type="text" name="email" /> <br /> First name: <input type="text" name="givenName" /> <br /> Last name: <input type="text" name="familyName" /> <br /> <button type="submit">Register</button></form>
NOTE
Passkeys are an extension of the Web Authentication API (aka WebAuthn), a client side browser API. Unfortunately we can't use passkeys if the user disables Javascript.
Explanation
We’re using SvelteKit’s progressive enhancement to intercept the form submission. We use Passlock’s SvelteKit extension to register a passkey on the user’s device. Passlock will store the public key component of the passkey in your Passlock vault.
If all goes well, this will return a token that we can exchange for a user object in our form action.
Process the token in the form action
The form will be submitted with an additional token field. We’ll use it to fetch the passkey details in the form action.
Create a new form action at src/routes/register/+page.server.ts:
// src/routes/register/+page.server.tsimport type { Actions } from './$types'import { Passlock, TokenVerifier } from '@passlock/sveltekit'// we'll replace the TBCs laterconst tokenVerifier = new TokenVerifier({ tenancyId: 'TBC', apiKey: 'TBC'})export const actions: Actions = { default: async ({ request }) => { const formData = await request.formData() const token = formData.get('token') as string const result = await tokenVerifier.exchangeToken(token) if (Passlock.isPrincipal(result)) { console.log(result) } else { console.error(result.message) } }}
The result includes a sub field (subject / user id), along with an authId (authenticator i.e. passkey id). Later we’ll use these to link the passkey registration to a local user.
Create a Passlock account
We’ve used TBC for some Passlock config values. It’s time to replace these with real values.
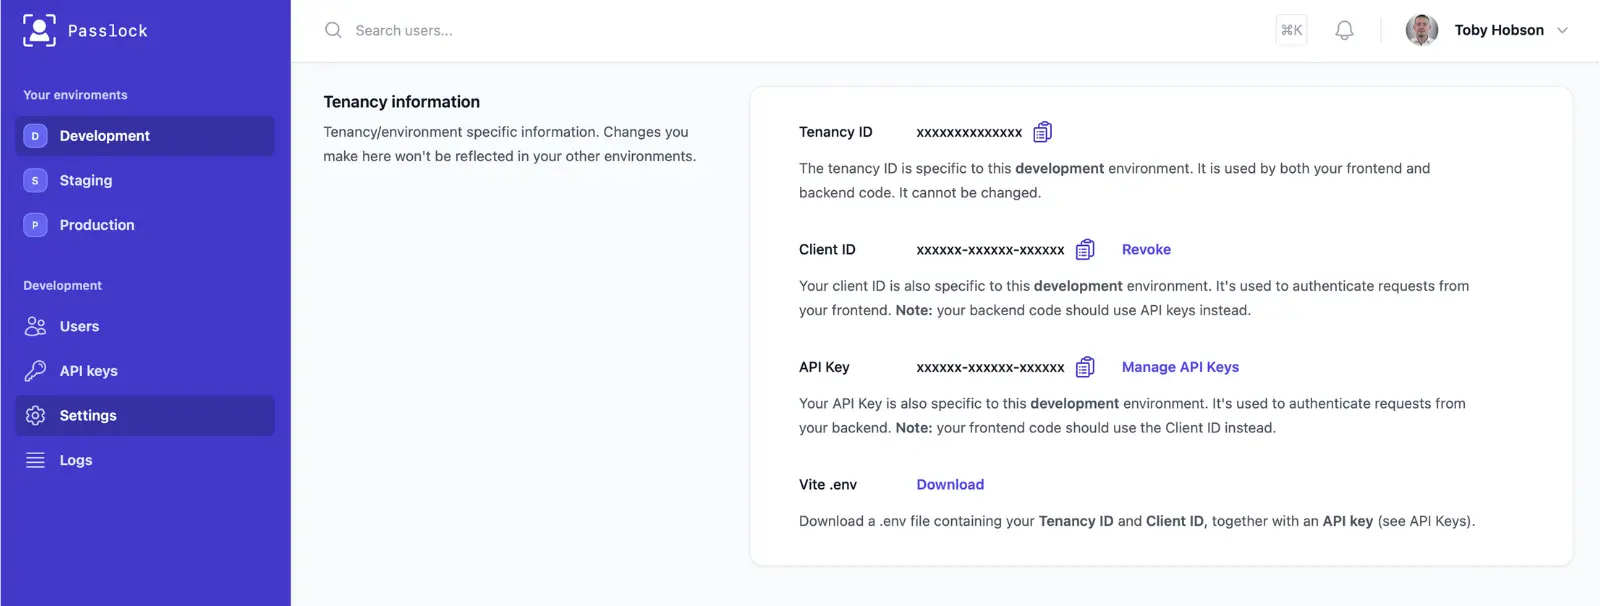
Create a developer account at passlock.dev then head to the settings tab within your console. We’re after the tenancyId, clientId and apiKey values.
NOTE
Passlock cloud is a serverless passkey platform, that also supports social login, mailbox verification, audit trails and more. It's free for personal and commercial use.
Find your config parameters in your Passlock console
Edit your .env file (or .env.local) and create entries for these values:
// src/routes/register/+page.server.tsimport { PUBLIC_PASSLOCK_TENANCY_ID } from '$env/static/public'import { PASSLOCK_API_KEY } from '$env/static/private'const tokenVerifier = new TokenVerifier({ tenancyId: PUBLIC_PASSLOCK_TENANCY_ID, apiKey: PASSLOCK_API_KEY})...
Try registering a passkey
Although we’re not yet finished, you should be at a point where you can register a passkey.
Navigate to the /register page and complete the form. You should be prompted to create a passkey and the form action will spit out details of the passkey registration.
You should also see an entry in the users tab of your Passlock console. The console can be used to view security related events, suspend and delete users and more.
NOTE
At this stage things may seem slow and clunky. We'll this in a subsequent tutorial, for now we just want to get things working.
Create a login route
We can now register a passkey on the users device. Let’s use that passkey to authenticate. The process is essentially the same as it was for registration.
Create a login template at src/routes/login/+page.svelte:
Notice how we’re only passing the email this time. Now for the form action:
// src/routes/login/+page.server.tsimport type { Actions } from './$types'import { Passlock, TokenVerifier } from '@passlock/sveltekit'import { PUBLIC_PASSLOCK_TENANCY_ID } from '$env/static/public'import { PASSLOCK_API_KEY } from '$env/static/private'const tokenVerifier = new TokenVerifier({ tenancyId: PUBLIC_PASSLOCK_TENANCY_ID, apiKey: PASSLOCK_API_KEY})export const actions: Actions = { default: async ({ request }) => { const formData = await request.formData() const token = formData.get('token') as string const result = await tokenVerifier.exchangeToken(token) if (Passlock.isPrincipal(result)) { console.log(result) } else { console.error(result.message) } }}
The form action is the same (at this stage). Passlock abstracts passkey registration and authentication into a common structure known as a Principal.
Try logging in with a passkey
Navigate to the /login page, enter your email (the one you used for registration) and click login. If all goes well, you should see your user details in the server console.
Within your Passlock console, under the users tab you should see an entry. If you click on the user you’ll be able to see the passkey registration and authentication events.
Summary
We used the Passlock library to register a passkey on the users device. The public key component of the passkey is stored in your Passlock vault.
During authentication we ask the user to present their passkey. Passlock verifies that the passkey is authentic, then generates a secure token. This token is passed to the backend form action in the form submission.
The form action verifies the secure token is authentic, exchanging it for details about the user and the passkey they used to authenticate.
Next steps
We’ve made a great start but we now need to link the passkeys to local user accounts and sessions. It’s time to use Lucia auth with passkeys
If you've followed the previous instalments in this series, you'll have built a SvelteKit app with passkey authentication, session management and authorization. It's functional, but it feels a bit clunky. Let's improve things.
In this tutorial you'll build on your previous work to integrate passkeys with Lucia users and sessions. You'll handle session creation, expiry and invalidation, and protect your routes using SvelteKit hooks.
All the major browsers now support passkeys, however biometric support is often limited to those browsers with tight platform integration e.g. Safari on iOS and Chrome on Android.
Passkeys are tied to specific (https) websites. Browsers won't use a private key intended for one website to sign a challenge generated by a different site.
Passkeys enable two factor authentication (including biometrics). Users can even use a biometric enabled device e.g. iPhone FaceID to authenticate against a device lacking this capability e.g. a desktop.